Kiss goodbye to your cakes getting stuck in their tins with this easy to make gluten-free DIY cake release.
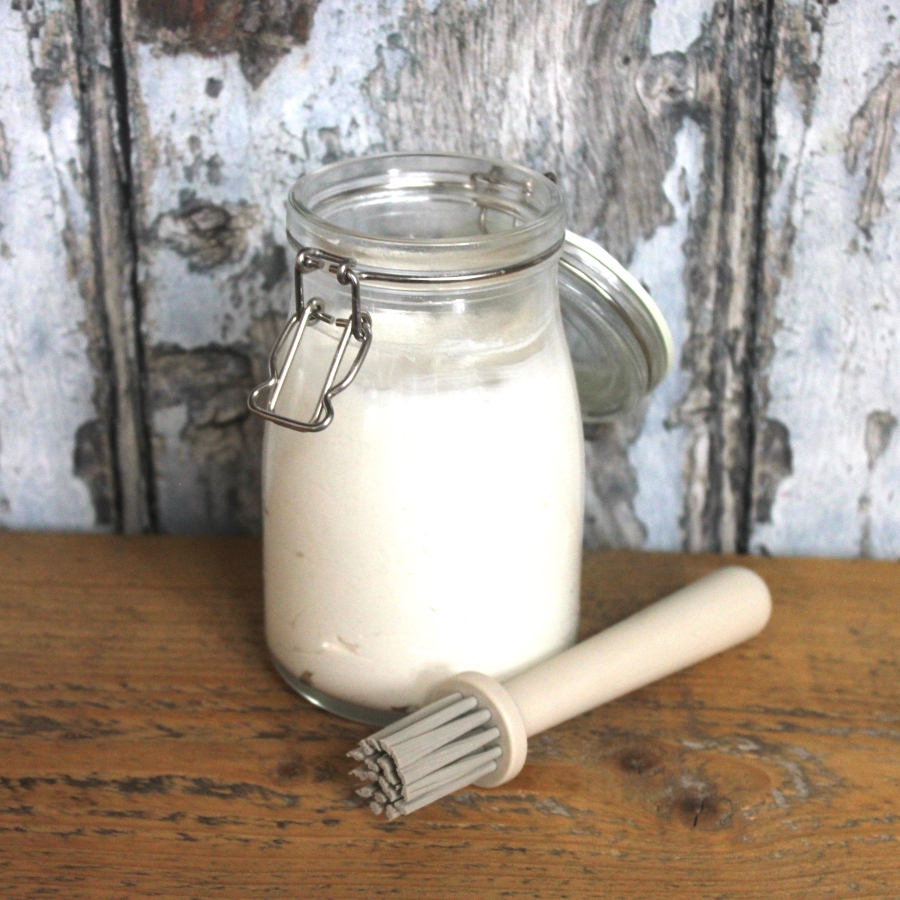
Store your homemade cake release in a sterilised jar at room temperature for up to three months. Or keep it in the fridge for up to six months. If keeping it in the fridge, you will need to bring your cake release back to room temperature before using.
To use, grab a clean pastry brush, dunk it in your jar of cake release and then coat the base and sides of your tin(s), making sure you get into all the nooks and crannies of any square/rectangular or quirky-shaped tins.

DIY CAKE RELEASE
Ingredients
- 110 g vegetable oil
- 105 g Trex (or other brand of shortening)*
- 65 g gluten-free plain flour
Instructions
- Weigh all three ingredients into a large bowl or the bowl of your stand mixer if you have one.
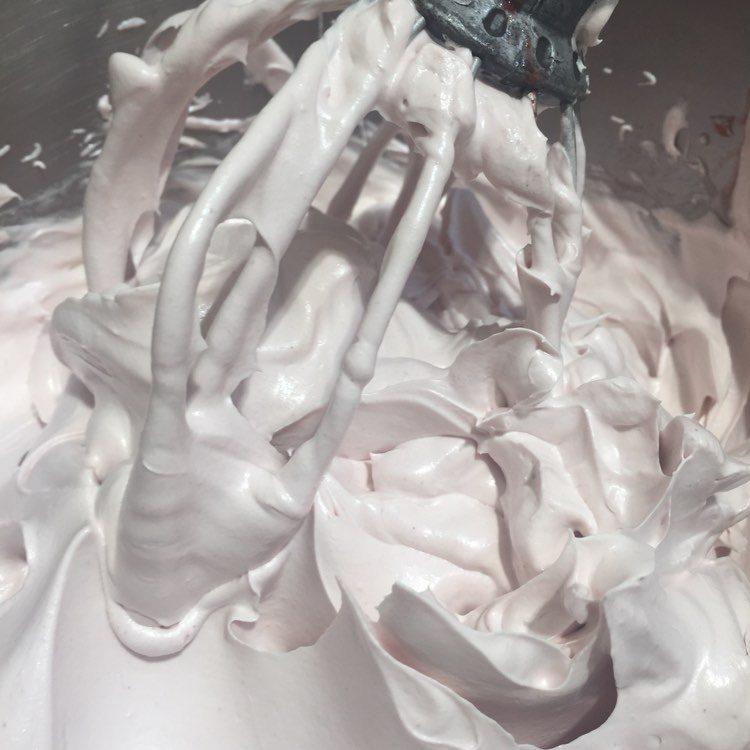
- Beat the ingredients together until you have a smooth paste.
- Transfer the paste to a clean, sterilised jar.
Notes
- You can use butter instead of shortening for your DIY cake release if you prefer. I choose to make mine with shortening because it is top 14 allergen-free and so I can use the one mix across all my bakes rather than having to make a separate batch for any dairy-free / vegan baking I am doing.
GREASING AND LINING A CAKE TIN
In baking, recipes will sometimes instruct you to grease the tin before adding your cake batter. Other times, you will need to both grease and line the tin. If you are greasing and lining your tin, then the greasing part is simply there to help your baking parchment stick to the walls of the tin.
You won’t always need to grease the base of the tin. You can decide whether to depending on the consistency of your cake. If I have a very loose, pourable cake batter, then I don’t bother to grease the base before adding my baking parchment. If, however, my cake batter is thick and needs spreading/smoothing out, then I do grease the base before adding the parchment. This stops the parchment from pulling up as the cake batter is spread around the tin.
Once you have greased and lined your tin, you do not then need to grease the parchment on the inside. But you absolutely do need to make sure you are using baking parchment and not greaseproof paper!
Are you unsure what the difference is between the two? Then have a read of our article baking paper vs greaseproof paper for more information and to avoid the disaster of paper sticking to your bakes!
If you are only greasing (but not lining your tins) then you can simply brush your gluten-free DIY cake release all over the tin then pour your cake batter in. Don’t forget to get into all those nooks and crannies with your pastry brush!


